:max_bytes(150000):strip_icc():format(jpeg)/11825167-grandma-marikas-spanikopita-4x3-2faa45d57b504aa88c591d4ac4ac5b78.jpg)
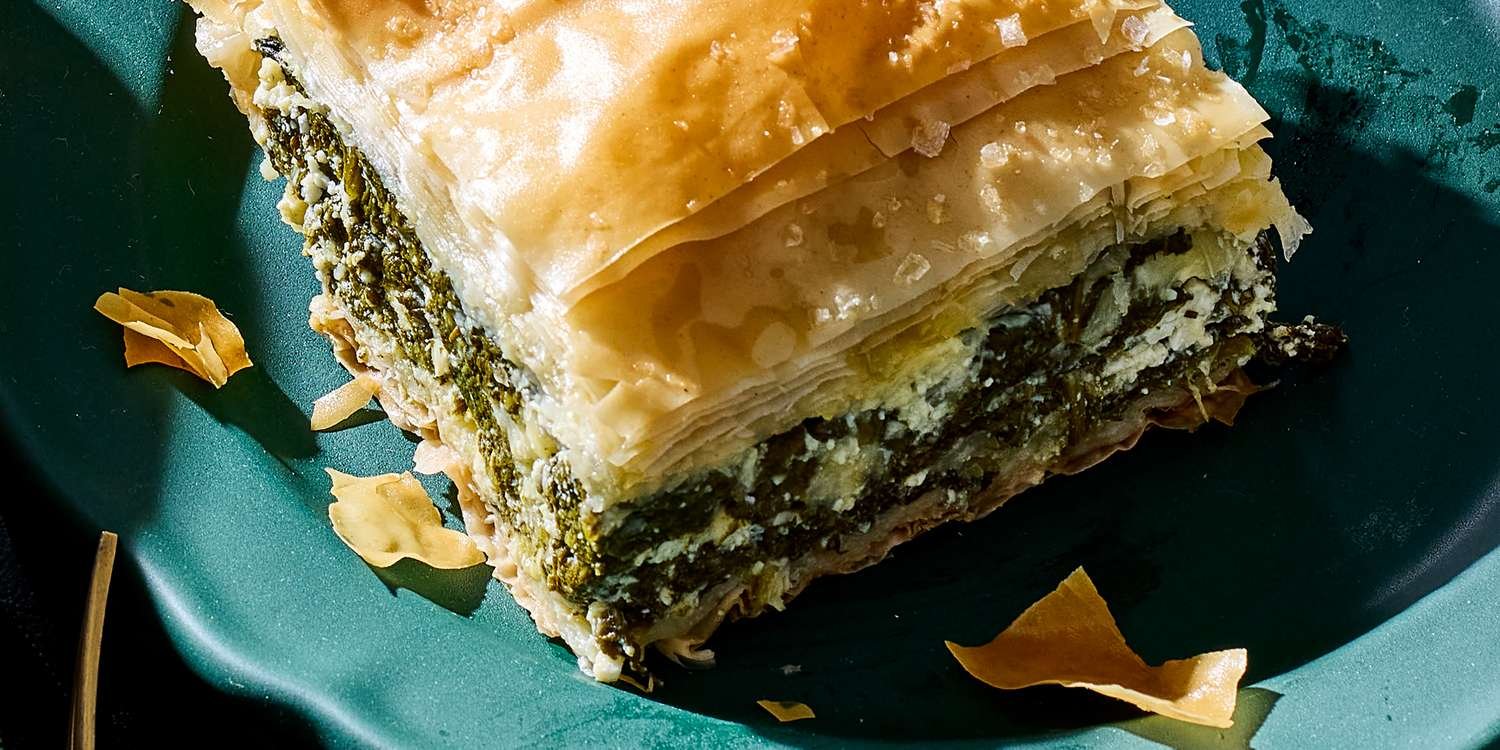
Piles of feta and spinach filled flaky triangles surrounded Katy Tur every holiday. It was a family tradition to serve spanakopita, a Greek specialty. Every holiday she and her mom, Marika, would hurriedly unroll phyllo sheets, brushing them with butter and sealing them into triangles filled with cooked cheesy greens. The worst part was waiting to dig in once it was out of the oven. “I couldn’t wait for it to cool down and, inevitably, I always took a bite way to early and burned my entire mouth,” Katy says.
Now her children with husband Tony Dokoupil—Teddy, 6 and Eloise, 4—know the recipe. And while it might look a little different now—they prefer olive oil over butter, often use kale or Swiss chard in place of the spinach, and opt for baking in a square pan—the tradition of gathering in the kitchen and making spanakopita across the generations remains.
“It’s one of my favorite memories of childhood. It’s one of the things that I brought with me into being a mom myself,” Katy says. “I want them to think, This is Mom’s dish, the way that I think of it as my mom’s dish.I want them to think of me every time they eat a spanakopita. And also to say to themselves, ‘It’s not as good as Mom’s.'”
Courtesy of Katy Tur and Tony Dokoupil
How to Make Spanakopita
Make Filling: Cook and stir aromatics and greens in a large, deep pot until greens are slightly wilted. They’ll continue to cook in the oven. Even with a large pot, you’ll need to add greens in batches.
Jake Sternquist
Squeeze Dry: Squeeze cooled cooked greens in a clean kitchen towel. “Squeeze a lot of [the liquid] out, but you don’t want to squeeze so much that it becomes fully dry because then it can be really dry after baking,” Katy says.
Jake Sternquist
Mix It Up: Add remaining filling ingredients to cooled cooked greens. “The ratio is key,” Toy says. Use a 3-to-2 ratio of cooked greens to cheese. “But if you love cheese, you can put tons of cheese in,” Katy says. “The only mistake you can make is not putting enough cheese in.” Mix with clean hands to ensure even distribution. This is a kid-friendly step—often done by Teddy and Eloise.
Jake Sternquist
Start Layering: Unroll phyllo on a work surface, keeping any sheets you’re not working with covered with a clean kitchen towel. “My mom taught me to work very quickly with the phyllo or it will dry out,” Katy says. Working with one sheet at a time, brush sheet with oil making sure it’s completely covered. Add to oiled pan, overhanging edge slightly. Repeat to cover bottom and overhang all edges.
Jake Sternquist
Add Filling and Finish Layering: Add filling to phyllo in pan and fold over overhanging phyllo sheets. Then top with remaining phyllo sheets, brushing with oil before adding, and fold over overhanging edges. The bottom phyllo layer will be thinner than the top.
Jake Sternquist
Score and Bake: Before baking, brush top with oil and sprinkle with flaky salt. Score the top layers of phyllo with a pairing knife into desired serving sizes to make it easier to serve. “I always forget to do this, but it’s a great idea and helpful,” Katy says.
Jake Sternquist
Cook’s Note
Katy and Tony use a metal square baking pan, but they say a glass or ceramic or 9×13-inch baking dish works, too. Just make sure the bottom is well-oiled before adding the phyllo to ensure an extra-crispy crust.